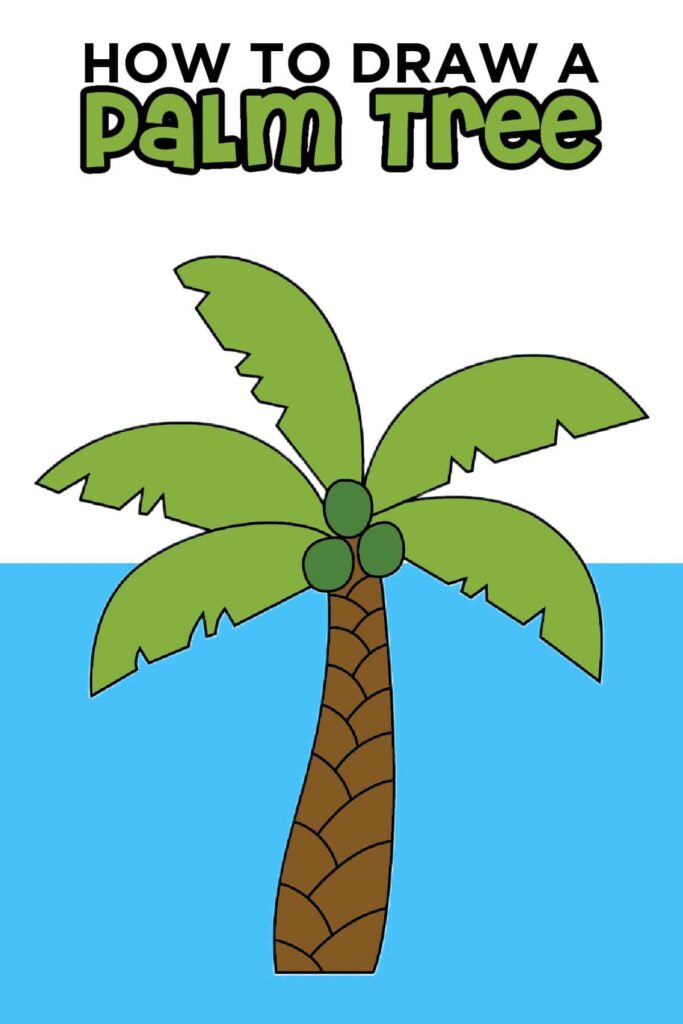
An easy palm tree drawing starts with simple shapes, not special skills. You only need a curved trunk, a small crown at the top, and a few long fronds spreading outward. Keep the lines loose and light at first so you can adjust the shape as you go. The goal is to make the tree look recognizable fast, while keeping the steps simple enough for a beginner.
source: www.madewithhappy.com
Start with the trunk
source: popartsteps.com
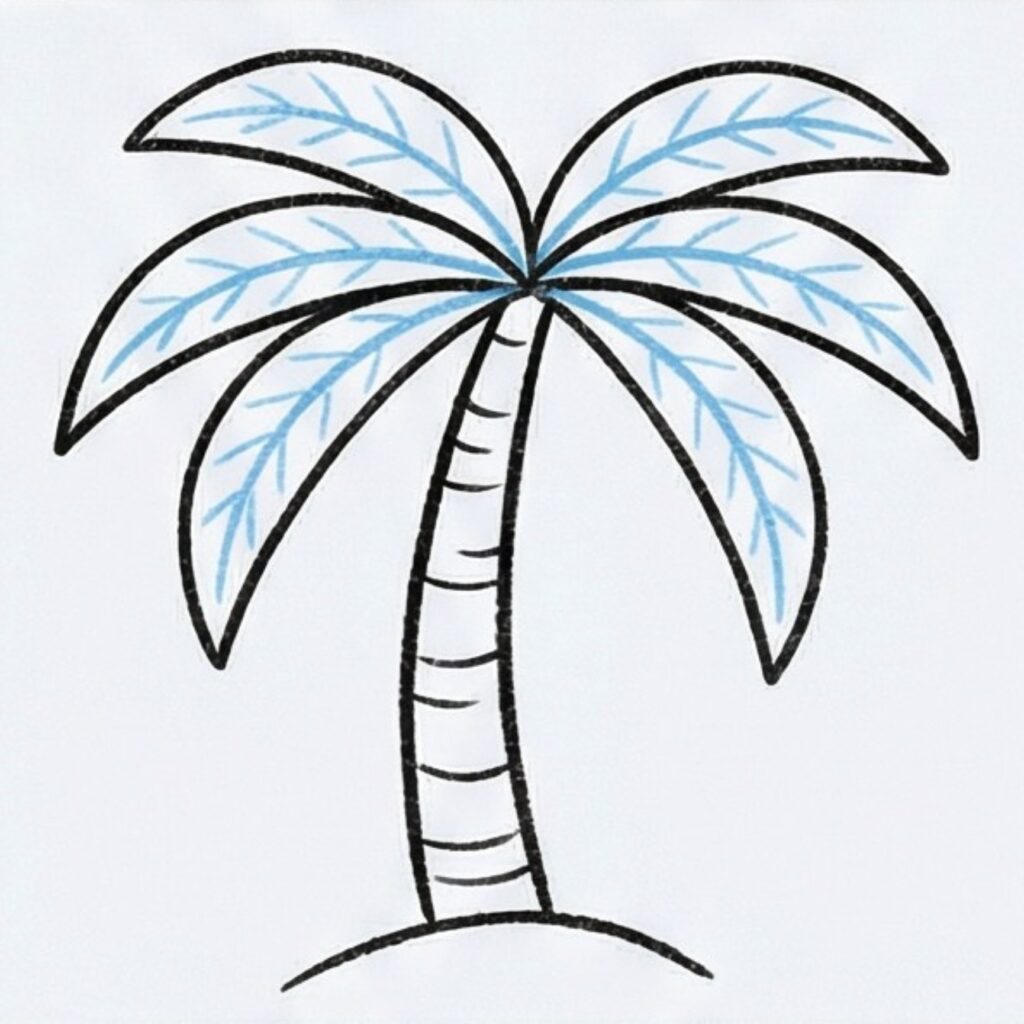
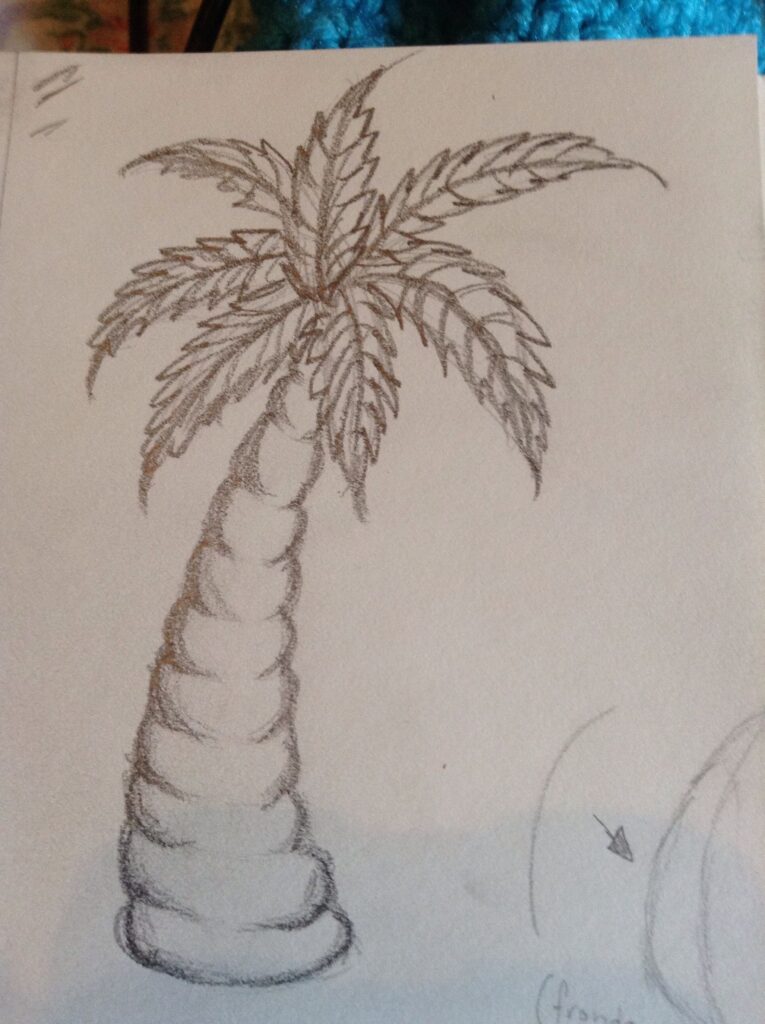
Begin by drawing one long curved line for one side of the trunk, then add a second curve beside it so the trunk feels slightly narrow at the top and wider at the bottom. Palm trees often lean a little, so a straight trunk is not necessary. If you want a stronger base, sketch a short, slightly wider shape at the bottom where it meets the ground. This gives the tree a stable look without adding extra difficulty.
source: artprojectsforkids.org
source: coolkiddoodles.com
Add the palm crown
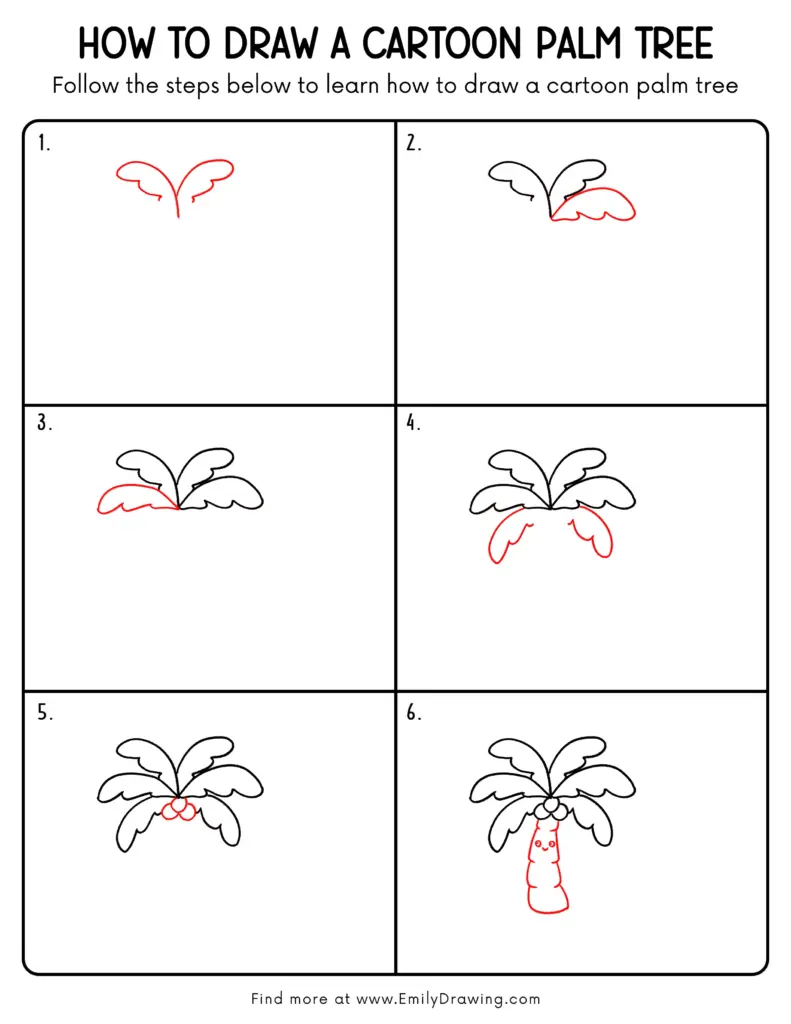
At the top of the trunk, draw a small rounded cluster where the fronds will grow. You can think of this as a simple hub, not a detailed botanical center. From that point, add five to seven curved leaves that arc outward like long ribbons. Vary the direction a little so the tree looks natural, but keep each frond simple and single-lined. If a frond feels too long, shorten it instead of adding extra detail. The drawing still reads clearly.
source: www.instructables.com
source: www.emilydrawing.com
source: coolkiddoodles.com
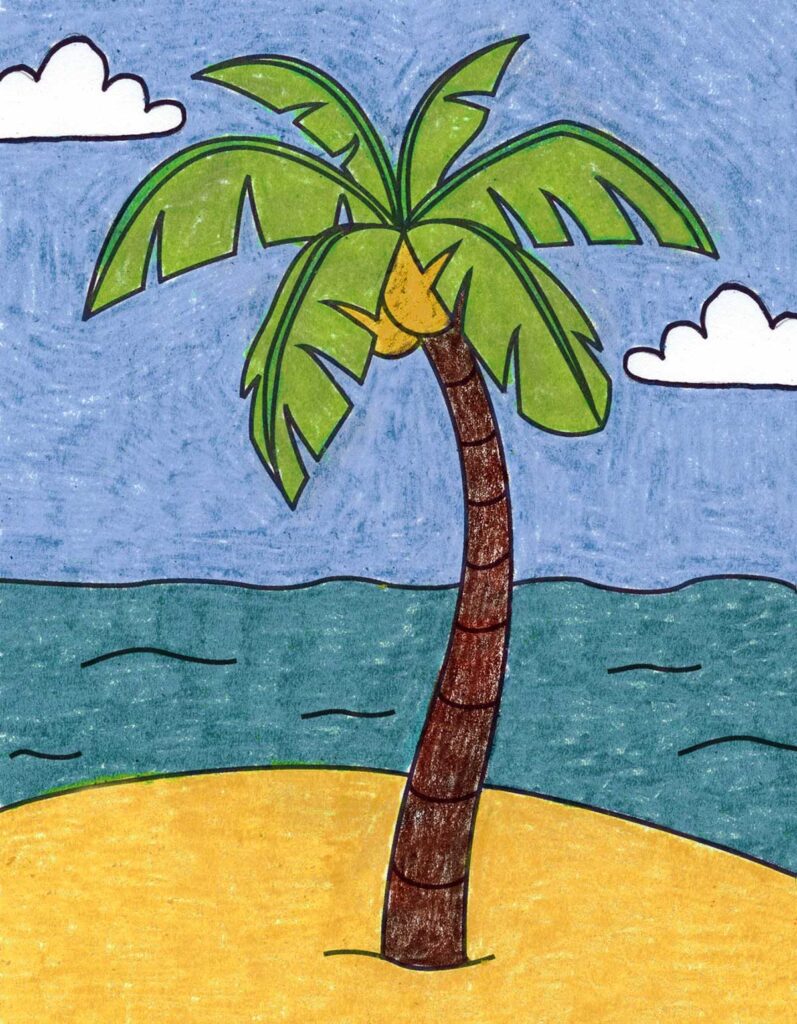
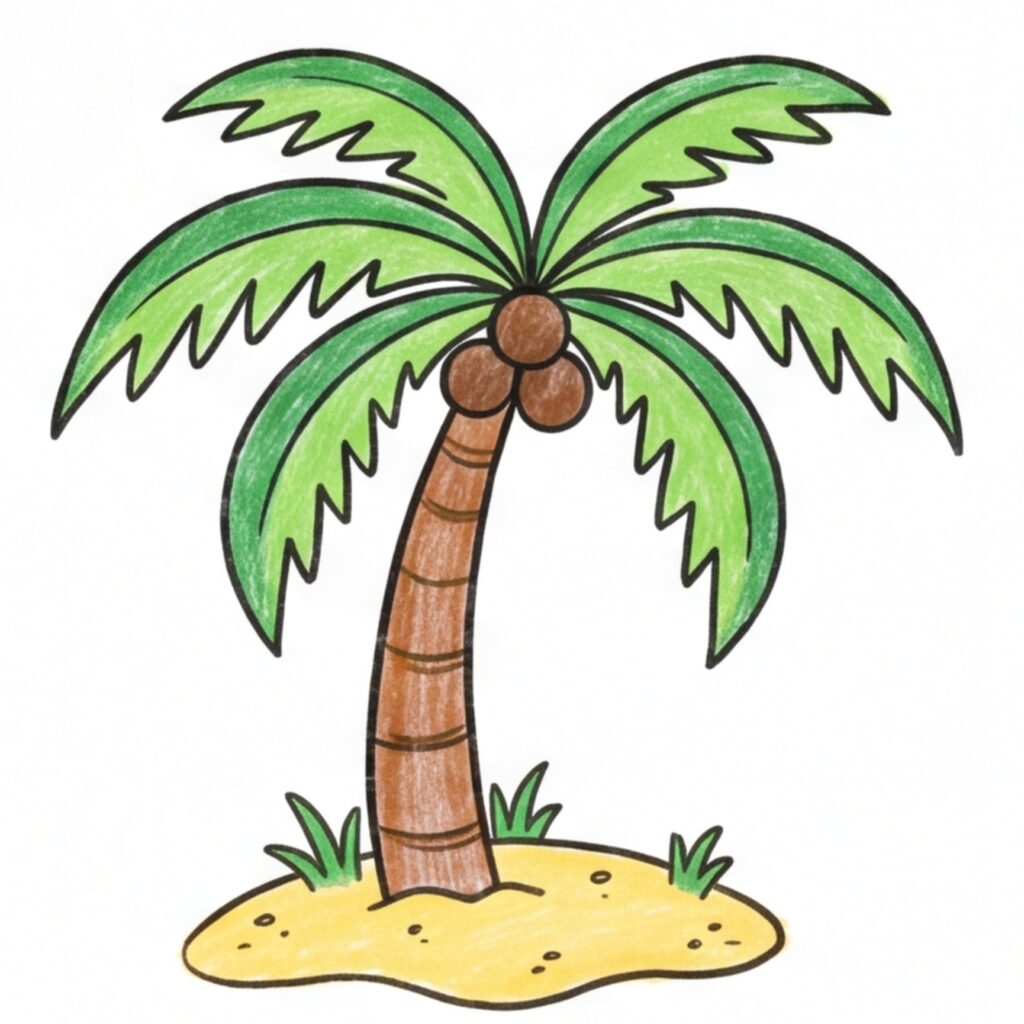
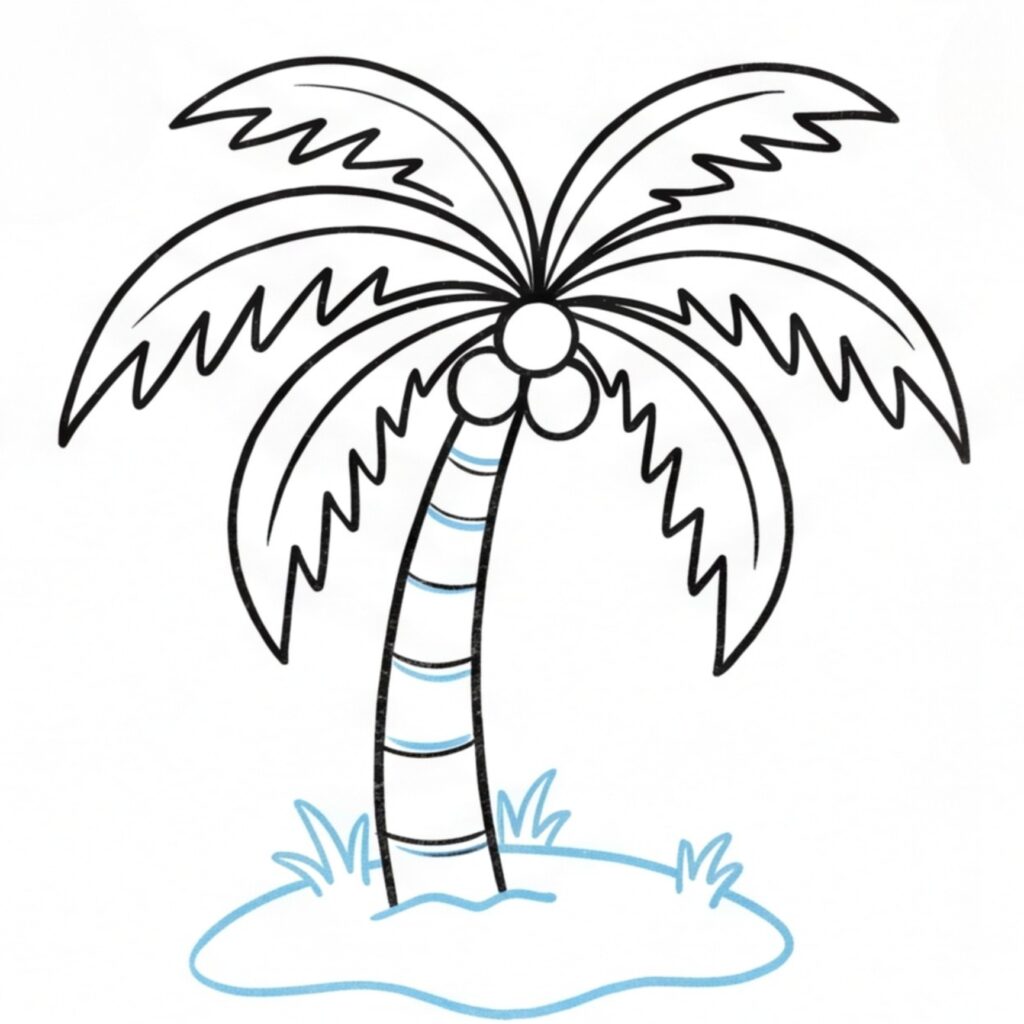
To finish the easy palm tree drawing, add only one or two tiny details if they help the image. A few small coconuts under the fronds can make the tree more familiar, and short angled lines on the trunk can suggest texture without making it busy. If you want, you can also draw a small patch of sand or a wavy ground line underneath. Stop before the drawing becomes crowded. A clean, simple silhouette is usually the best result for this style.