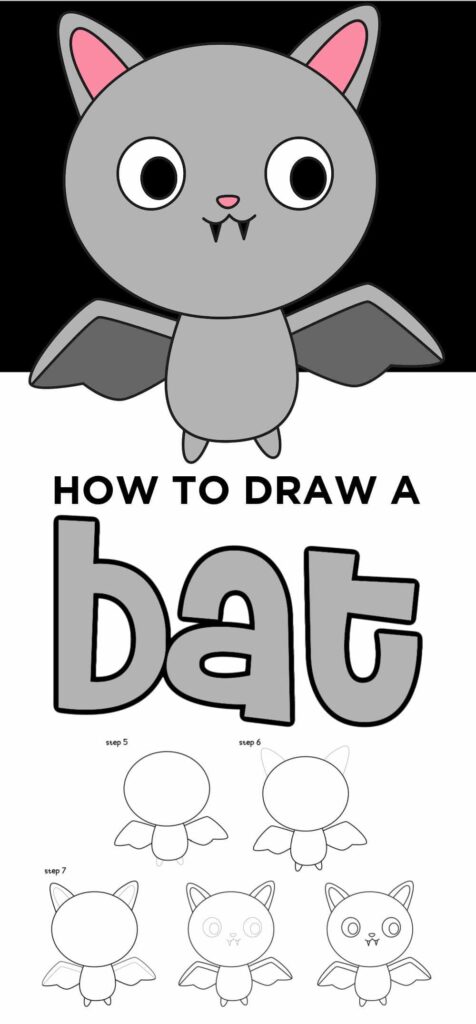
Learning how to draw a bat is much easier when you build it from simple shapes first. Start with a small circle or oval for the head and a larger rounded shape underneath for the body. From there, you can add the wings, ears, and face step by step until the sketch clearly reads as a bat. This approach keeps the drawing beginner-friendly and helps the proportions stay balanced.
Build the Body First
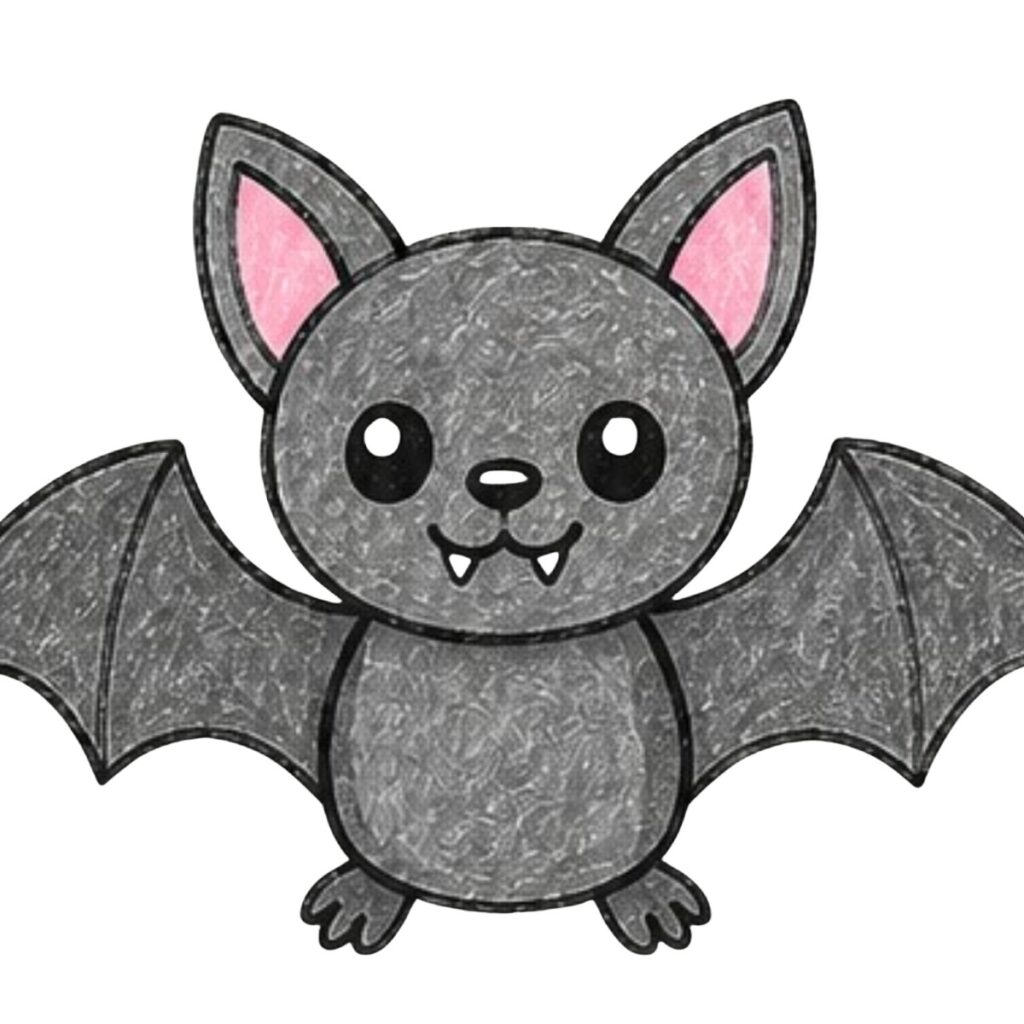
source: popartsteps.com
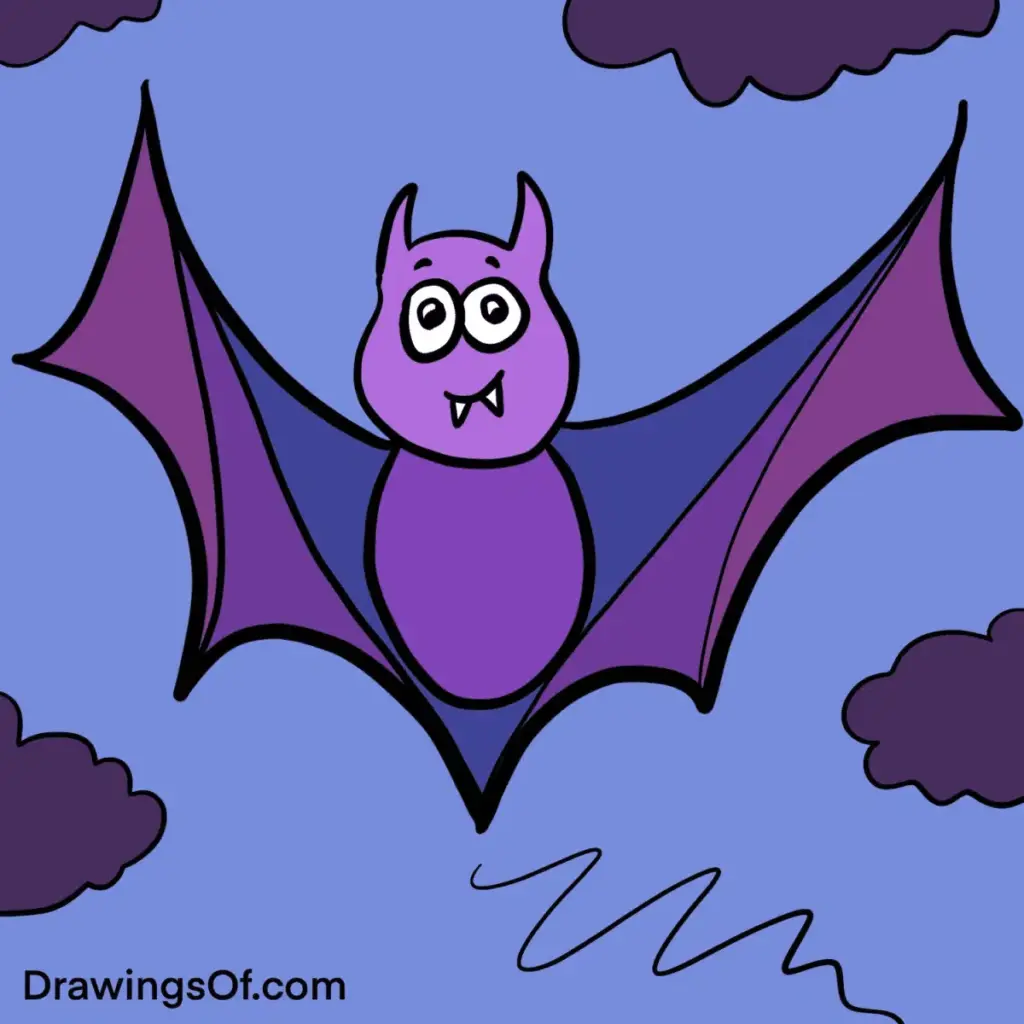
source: drawingsof.com
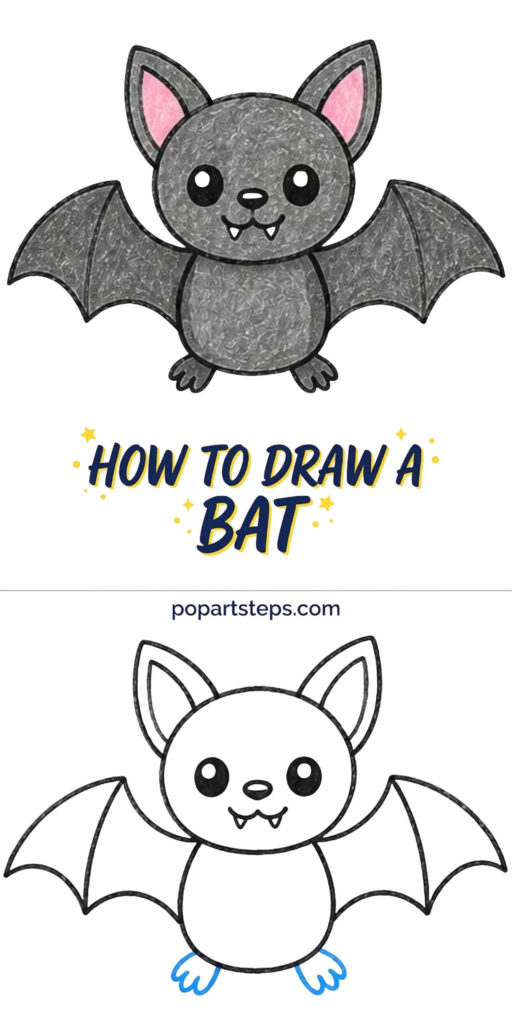
Begin with a light pencil sketch so you can adjust things as you go. Draw a small circle for the head, then add a slightly larger oval beneath it for the torso. Connect the two shapes with short curved lines. Next, place a guideline across the head to help you position the face evenly. Keeping the forms simple at this stage makes it easier to place the wings later and avoid a crowded sketch.
source: popartsteps.com
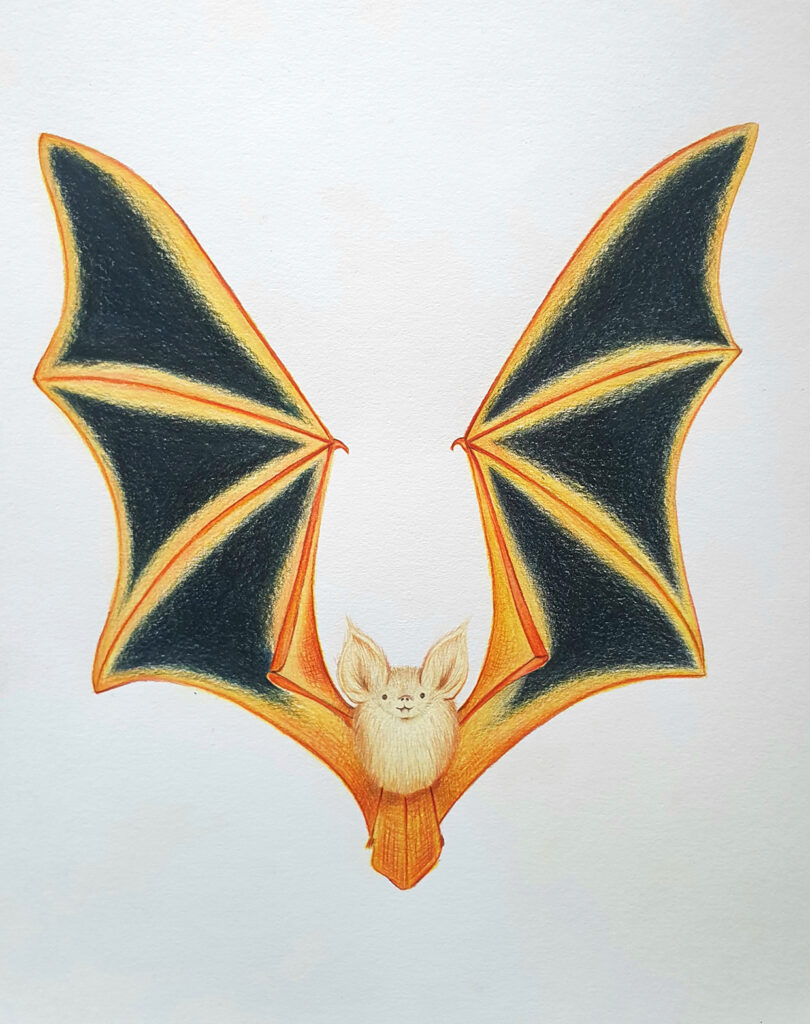
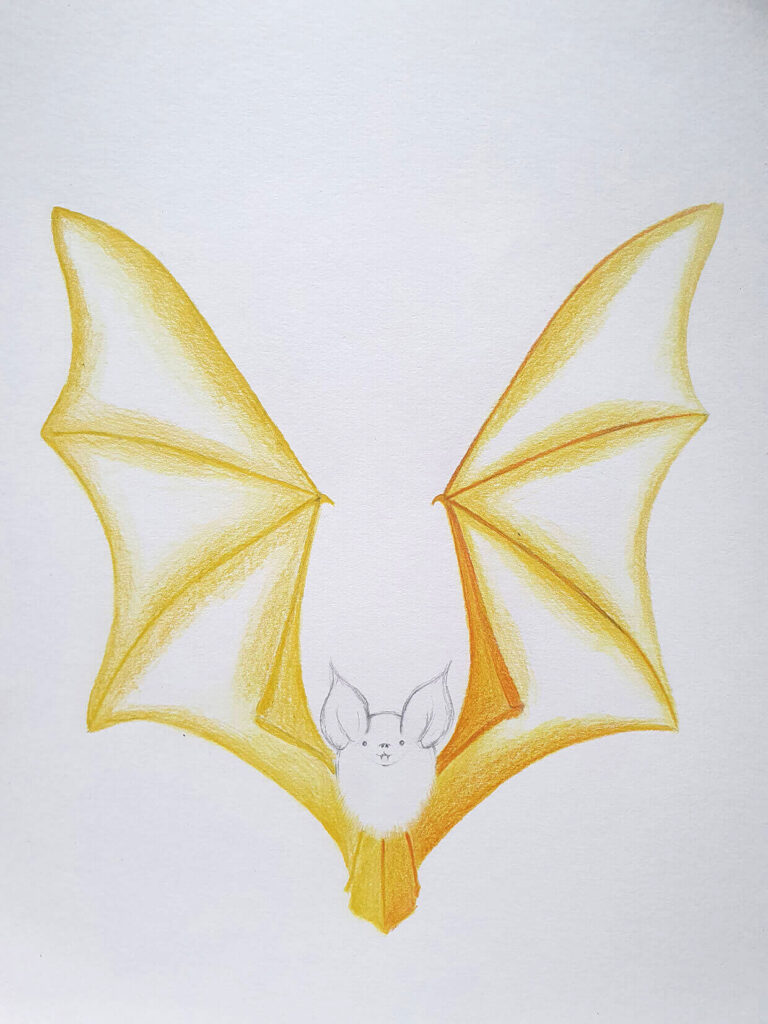
Now add the wings in a clear progression. Start each wing at the sides of the body with a long curved line that sweeps outward and upward, then bring it back down in a soft point. Inside each wing, draw a few gentle zigzag curves to suggest the stretched wing membrane. Repeat on the other side, checking that both wings feel balanced rather than perfectly identical. If the wings look too large, shorten the outer curve before darkening anything.
Face and Final Details
source: www.gathered.how
source: www.madewithhappy.com
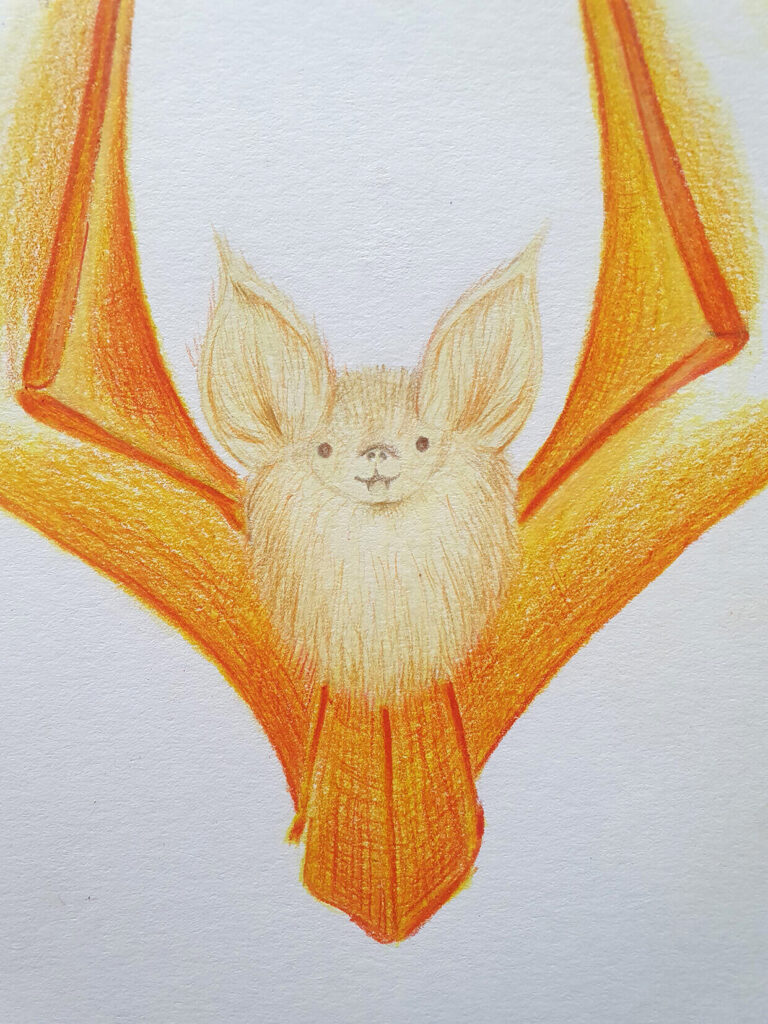
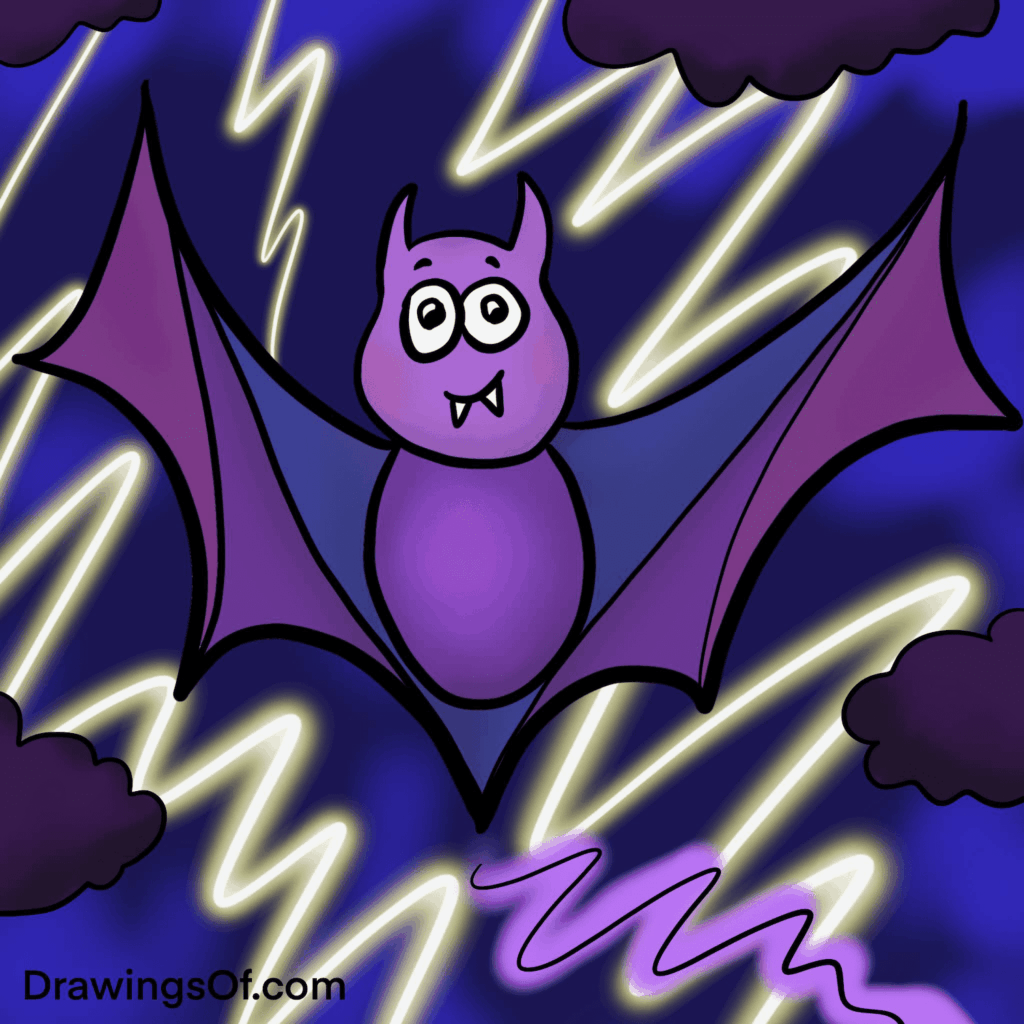
Once the main shapes are in place, define the ears by drawing two pointed triangles on top of the head. Add small round or almond-shaped eyes, a tiny nose, and a simple mouth line so the bat has personality without becoming too detailed. You can also sharpen the outline around the head and body, clean up any sketchy construction lines, and thicken the outer contour. These small details are usually what make the drawing instantly recognizable as a bat.
source: www.gathered.how
Finish by refining the outline and deciding whether you want a simple black bat silhouette or a lightly colored cartoon version. For shading, keep it easy: darken the wings, leave a little highlight on the head or body, and add a few soft lines to separate the wing sections. If you want a finished look, trace the final lines with pen after the pencil sketch is right. A clean shape, pointed ears, and defined wings are enough to complete the drawing successfully.
source: drawingsof.com
source: www.gathered.how